Die Übersetzung ist noch in Bearbeitung.
Einführung[]
Fold-it unterstützt seit einiger Zeit Lua Scripting. kurz und einfach gesagt, Lua ist einfache Programmiersprache (ähnlich wie C), und durch ihre Einbindung ins Spiel können wir Proteine manipulieren und Aufgaben erledigen, die sich wiederholen -- ähnlich wie bereits mit dem Cookbook. Ein Script ist ähnlich wie ein Kochrezept (zum Beispiel für einen Kuchen) -- es beinhaltet eine Reihe von Anweisungen für Foldit, was es mit dem Protein tun soll (so wie ein echtes Rezept angibt, was man mit den Zutaten tun soll).
Es gibt zwei große Unterschiede zwischen den Rezepten (GUI) und den Scripts (Lua):
1.: Scripte sind vielseitiger, das sie mehr Befehle haben und eine komplexere Struktur haben können.
2.: Die Befehle müssen in Textform eingegeben werden, statt daß sie über die GUI ausgewählt werden können.
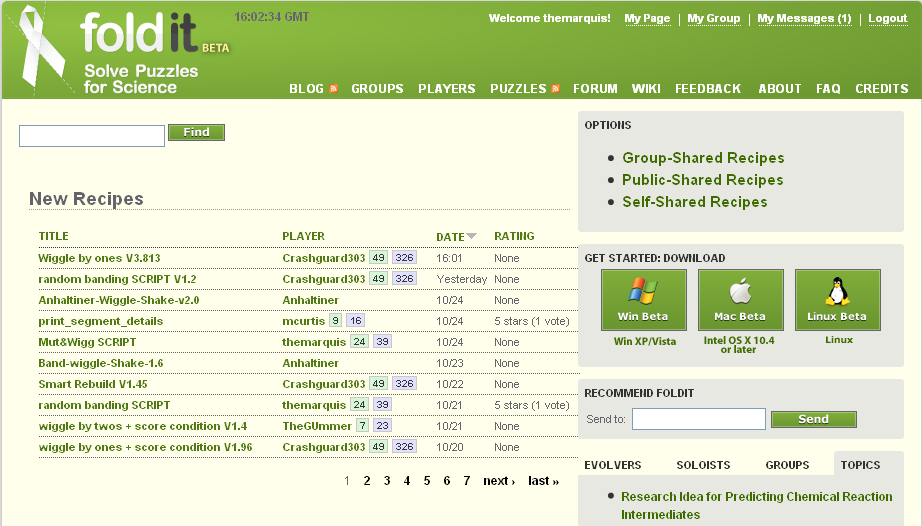
Rezepte und Scripte gibt es bei http://fold.it/portal/recipes
Ziele dieses Tutorials[]
In Anfänger 1 wirst Du keine Scripte erstellen und ändern. Wir werden erst einmal zeigen, wie bereits erstellte Scripte aus dem Internet geladen und ausgeführt werden.
In Anfänger 2, geht es dann los, eigene Scripte zu schreiben. Am Ende des Tutorials müßtest Du dann folgendes kennen:
- Scripte im Internet zu betrachten
- Scripte laden und auszuführen
- Das Script-Ausgabefenster zu öffnen
Loading a Script from the Web[]
Writing a script is a bit complicated, but fortunately, some enterprising folks out there have already written some scripts that anyone can use. So let's take a look at what's out there.
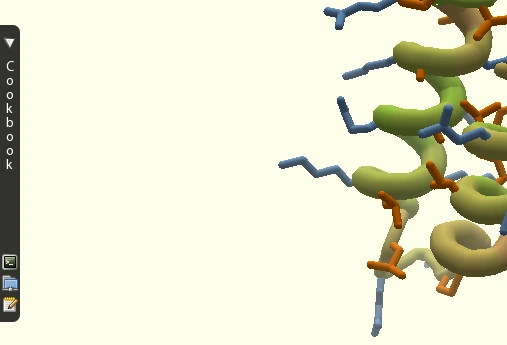
The cookbook bar is on the far left.
The green Add to Cookbook button is on the upper right side of the screen.
- Start Foldit and load any puzzle.
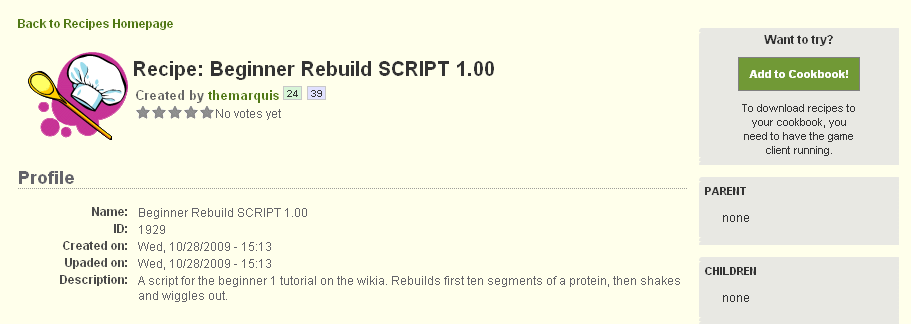
- Get online and navigate to theFoldit Recipes Page. Scripts written by other players and shared are located here along with shared Cookbook recipes. Go ahead and browse some of the scripts, and when you're ready, go to the page for the script we're going to work with: Beginner Rebuild Script
- Click on the green box in the upper right hand corner marked "Add to Cookbook!"
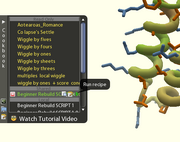
- Switch to your game and open the Cookbook bar on the left-hand side of the screen by clicking on it. Look through the recipes and you will find the script you downloaded.
Ausführen eines Scripts[]

Script ausführen
Nachdem Du ein Script aus dem Internet geladen hast, ist es Zeit, es auszuführen.
- Finde das Script in Deiner Rezeptliste und geh mit der Maus darauf.
- Klicke auf den grünen Pfeil, der rechts neben dem Rezeptnamen erscheint ("Run Recipe"), um das Script auszuführen.
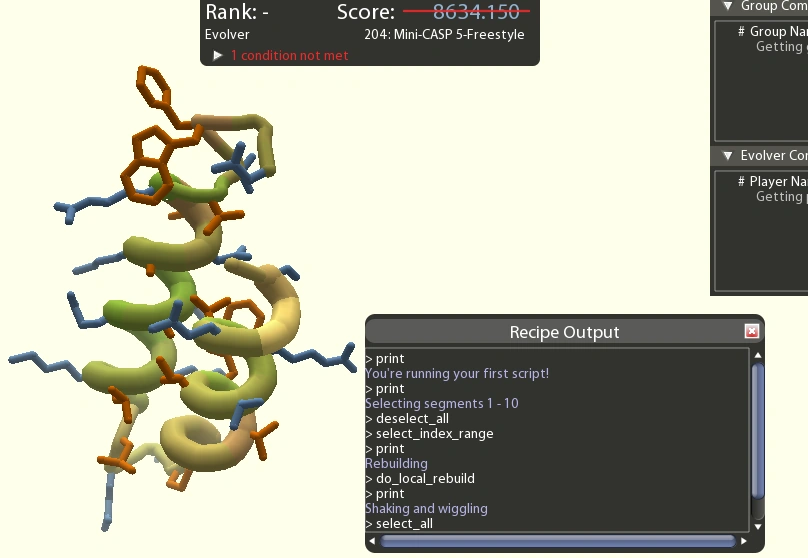
- Jetzt müßtest Du sehen, daß sich was am Protein tut. Wenn Du genau hinsiehst, wirst Du erkennen, daß am ersten Teil des Proteins ein Rebuild ausgeführt wird. Wenn es sich "gesetzt" hat, wird ein Shake, dann ein Global Wiggle und noch ein Shake ausgeführt.
Das Konzept hinter diesem Script ist ein Rebuild und dann das "sacken lassen" des Puzzles. In diesem Beispiel wird nur für die ersten zehn Segmente ein Rebuild ausgeführt. Später, in einem anderen Tutorial werden wir den Bereich noch auf alle möglichen erweitern.
Opening an Output Window[]
So you've successfully run your first script and were able to automatically rebuild your protein. Let's see how we can get more information about the process that's going on as the script runs.
An output window is a window that shows the results of running a script in plain text.

Move the output window so it doesn't obstruct your view of the protein
- Click the “show recipe output” button on your recipe bar. A blank window will pop up. Go ahead and move it to a good location where it doesn't obstruct the view of your protein.
- Now let's rerun that same beginner script. You should know how to run it by now.
- As it runs, watch the output window. You won't understand all the text, but you should be able to follow along a bit as the program runs.
Why do we need an output window? We won't do too much with output until the next tutorial, but it's a good idea to keep an eye on it while running scripts so that you can see any useful information about the protein that the script wants to convey to you. In this sample script, I've set it up to give you a few messages as it runs -- check out the light blue text. Reading this text should help you see what the script is doing. As a side-note, this output window is very important just in case there are any errors in the script that you'll need to troubleshoot -- we'll deal with this point in the next level of the tutorial.
Summing up[]
You should now be able to download scripts from the web and run them. You should also be able to open an output window and look at what the script is communicating as it runs. Feel free to download additional scripts from the web and play with them -- just keep in mind that you may not always know what they do ahead of time and if they will work properly.
A particular issue to be aware of is that some scripts need you to use the new interface's select feature to work properly. With this type of script, if you don't select segments, you'll get an error in your output window. In the next tutorial, we'll look at an example of this kind of error and find out how to fix it.
Quellennachweis[]
Der Original-Artikel befindet sich hier.